How to Add Google Analytics to WordPress
Some new WordPress users struggle when it comes to adding Google Analytics to their WordPress site. Many of them choose WordPress to build their new website because they have any technical knowledge, especially the coding skill.
However, if we want to track our website traffic for free and give valuable insights about our visitors, we need to add the Google Analytics’s tracking code to WordPress.
Sound like a challenge?
Fortunately, there are several simple methods available for adding Google Analytics to WordPress.
In this article, we’ll be covering how to add Google Analytics in WordPress with and without a plugin step by step. Take it easy!
Method 1: Add Google Analytics to WordPress with a Plugin
Step 1: First you need to visit Google Analytics sign up.
Google Analytics is available for free. All you need is a Google or Gmail account to sign up. Click the “Sign in Google Analytics” in the upper right-hand corner, and you’ll be redirected to a page where you can choose the Google account you want to use.

Tips: For those who have a Google Analytics account already, directly login to your account, then go to Admin > Create Property
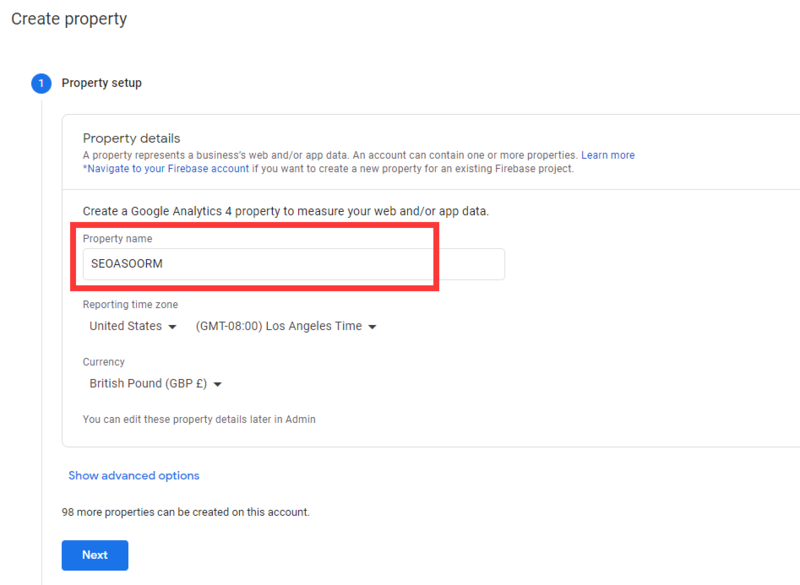
Step 2: Property Setup
you will be asked to provide an account name. This name will be used internally so you can use anything like your business name. On the next screen, tell more about your business information.
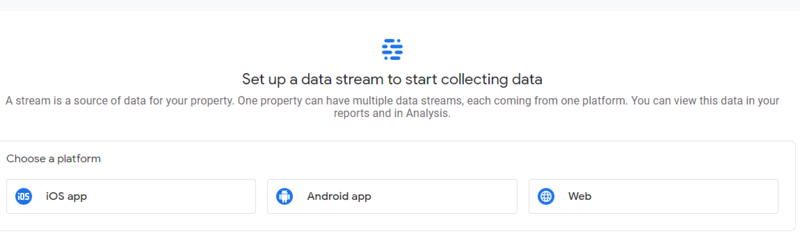
Step 3: Choose a Platform
you will be given choice to choose among iOS app, Android app and Web. Select the one meet your requirement. Here we select “Web”.
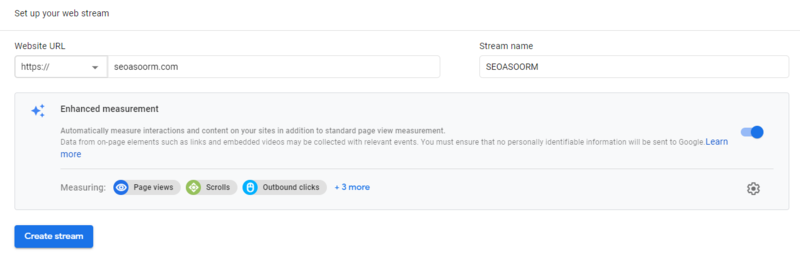
Step 4: Set up Data Stream
Enter website name, website’s URL and stream name.
Step 5: Copy Tracking Code
Now you will be presented with your Google Analytics tracking code. Copy it.
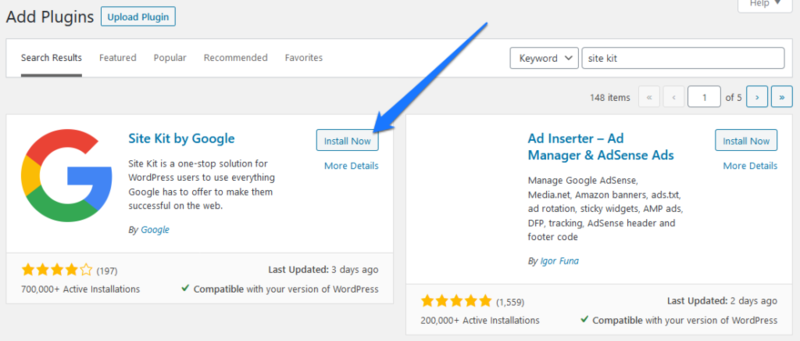
Step 6: Install Google Site Kit plugin in WordPress
There are a whole bunch of plugins out there to add Google Analytics to WordPress. For this example, we will use Google Site Kit.
Step 7: Start the Setup
When you first activate Google Site Kit, it will display a prompt at the top of the screen.
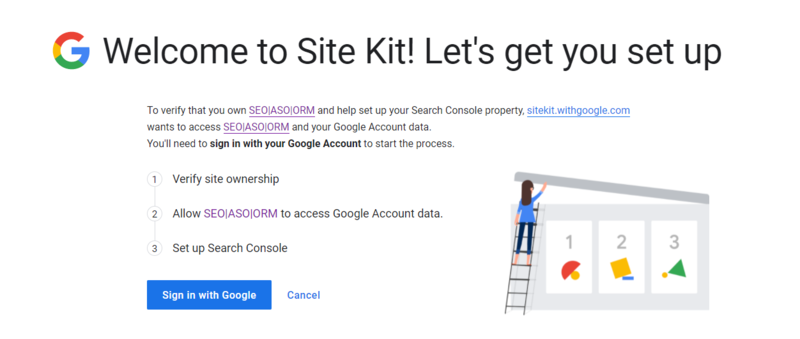
Here, you need to hit the Start Setup button. This will begin the process of verifying your site by taking you to this page:
After that, the setup will ask you to verify site ownership, permit access to your Google account data, and add your site to Search Console. Basically, all you have to do is click yourself through the process, it’s very simple.
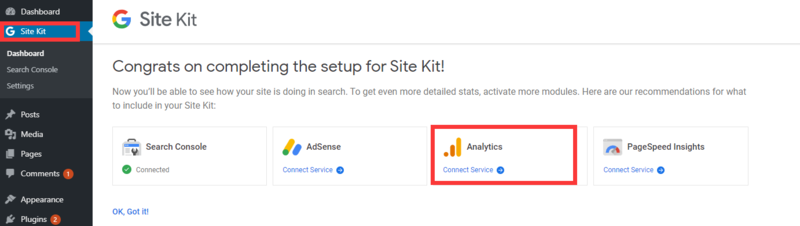
Step 8: Connect to Google Analytics
Once the setup is finished, your site is connected to Google Search Console and will start collecting data in the back end.
To connect to Google Analytics, choose “Google Analytics”. Then, pick the account and property.
That’s it, your WordPress site is now connected to Google Analytics.
Method 2: Add Google Analytics to WordPress Without a Plugin
Without a plugin, you can also add the Google Analytics tracking code to the Theme Header (header.php) file manually
Tips: Google Analytics requires that you add code to your theme files. As with any change made to your site, it is highly recommended that you perform a full backup of the site so that you can recover should anything unexpected happen during the installation process.
Step 1: Copy the tracking code from Google Analytics. (If you don’t have one, follow the step 1 to step 5 in Method 1.
Step 2: Navigate to the Theme Editor.
Step 3: Open the Theme Header (header.php) file on the right column.
Step 4: Paste the code snippet in the header area or, more specifically, above the </head> tag.
Step 5: Once you’re done, click on the Update File button to save the changes.

Have any thoughts or different methods you use to add Google Analytics to WordPress? If so, we would love to hear them!